Homemade Salt Pork
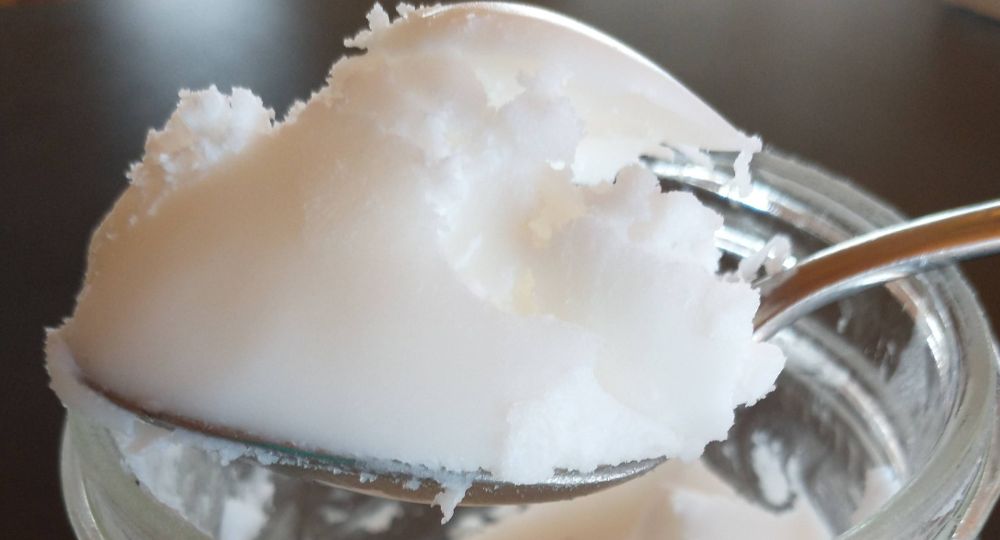
I keep both salt pork and lard in the freezer these days. Curing salt pork in small batches is easy to do in the refrigerator. The image is of leaf lard.
I keep both salt pork and lard in the freezer these days. Curing salt pork in small batches is easy to do in the refrigerator. The image is of leaf lard.
I keep both salt pork and lard in the freezer these days. Curing salt pork in small batches is easy to do in the refrigerator. With the addition of fragrant spices, juniper berries, and a touch of maple sugar, the finished product is elevated to a whole new level. Instead of using oil in a fry pan, I slice a ¼- to ½-inch piece of salt pork, cut it into strips, and use the rendered fat for sautéing. The cracklings make a great garnish for just about any dish. If you cannot source maple sugar, you can substitute it with brown sugar. Feel free to leave out the maple sugar and the spices for a more traditional take on salt pork. Since you will be using your freezer for storage, you can adjust the saltiness by decreasing the suggested curing time in the recipe below. Look for locally-grown pork and pork belly at farmers’ markets, butcher shops, and co-ops. Be creative and enjoy!
In a bowl, mix the salt, maple sugar, juniper berries, pepper, ginger, nutmeg, and cloves until well combined. Divide the mixture in half. Trim the rind from the pork belly if it hasn't been done already, but don’t throw it away. Cut the rind into pieces and freeze it for future use in flavoring braises. Place the pork belly in a shallow glass baking dish and rub half of the salt mixture into both sides. Cover tightly and refrigerate for two days. Put the remaining half of the salt mixture in a jar and set aside.
In two days, remove the salt pork from the refrigerator and pour off any accumulated liquid. Flip the pork belly over and sprinkle the remaining salt mixture over it, rubbing it into both sides. Recover and return it to the refrigerator for another 2 days. Rinse off the salt mixture, then pat the pork belly dry with paper towels. Your pork belly is now ready to use and will keep in the refrigerator for up to two weeks. I cut the pork belly into squares, wrap them tightly in plastic wrap, then place them in freezer bags. The individual pieces will keep in the freezer for several months.
Compared to butter, lard contains twice as much oleic acid, nearly a quarter of the saturated fat, and more than twice the monounsaturated fat. Lard is also low in omega-6 fatty acids, which are known to promote inflammation. Prized for its high smoke point, lard allows foods fried in it to absorb less fat. By making your own lard, you can be choosy about where the fat comes from. Pasture-raised pigs produce lard of ultimate quality compared to pigs raised in industrial confinement. A word of caution about purchasing lard at the supermarket: it is likely to be bleached, deodorized, and often hydrogenated to extend its shelf life, which defeats the purpose of using lard in the first place.
Leaf fat is the fat that protects the kidneys and produces the purest, whitest, mildest-tasting lard, prized for pie crusts and baking to this day. Fatback tends to have a porkier flavor and is wonderful for deep-frying or sautéing.
Making lard by rendering fat is an old-time skill that I feel fortunate to have learned from my mother. Crisco had no place in my mother’s pantry; when lard was demonized, she stuck to her old ways, sautéing and deep-frying with what she considered the finest fat while making the most tender, flaky pie crusts imaginable.
Because lard is shelf-stable, she stored her lard in the cellar, which stayed cool year-round. Lard jars lined the top shelf of a deep, open-faced cabinet. The cupboard looked like something my father had thrown together in a hurry, but it served its purpose of storing canned goods, with shelves reaching to the ceiling.
My mother saved empty glass mayonnaise jars for lard. She covered each full jar with wax paper before affixing the lid.
After a solid day of lard making, we could feel the grease on our skin. The smell permeated the kitchen, spreading through the house. The smell is not unpleasant for a few hours, but after a day or more, it becomes overwhelming.
My mother cut the lard into small pieces for rendering, trimming away any meat and as much sinew as possible. When my parents no longer cut up our own meat, the butcher ground the fat for my mother. The lard rendered out more quickly and efficiently.
It helps to partially freeze the fat before cutting it into pieces. I am careful to remove any bits of meat and as much of the sinew as possible, as these will affect the quality and color of the finished product. Using the food processor is a good alternative to grinding. The secret to rendering lard is to be patient and let it cook slowly, producing the mildest flavor and the highest quality.
Alternatives to cooking on the stovetop include an oven set to 225 degrees or a crockpot set to low. Leave the cover off in all cooking methods.
A pound of leaf fat will yield approximately 1 pint of lard. Plan for a three-hour commitment. As the fat renders from the cracklings near the end of cooking, I like to use a slotted spoon and carefully press the cracklings against the sides of the pot, squeezing them. Historically, a lard press squeezed the last bit of fat from the cracklings. In a pot large enough to accommodate the contents, pour the fat and cracklings through a fine-mesh strainer placed over the empty pot. I have good luck using a fine-mesh strainer and don’t feel the need to use cheesecloth. I press the cracklings against the strainer's side to release as much trapped fat as possible. Transfer the golden nuggets to a sheet pan, sprinkle with sea salt, and set them aside to cool. The cracklings are a wonderfully delicious by-product of lard making, tempting to eat by the handful. A few sprinkled on top of a salad is one of my favorite ways to use them. Any surplus freezes well.
You are now ready to transfer the strained hot fat into mason jars that have been washed in hot, soapy water, rinsed, and dried. Carefully fill the jars. The hot fat will have a golden-yellow appearance. The jarred fat can either be refrigerated or left on the counter overnight to cool. By the next day, it will have solidified and be creamy white. I keep a jar in the refrigerator for short-term use and in the freezer for longer storage.